Packing a cooler for a week-long Boy Scout camp adventure requires thoughtful planning to ensure that food stays fresh, drinks are easily accessible, and the cooler remains efficient in terms of space and weight. Here’s a step-by-step guide to help you pack your cooler properly for an extended camping trip:
1. Choose the Right Cooler
First, select a cooler that’s large enough to store all your supplies but still portable enough to carry. For a week-long trip, you’ll likely need a cooler with a 40–70 quart capacity, depending on the number of people and the amount of food you’re bringing.
2. Pre-Chill Your Cooler
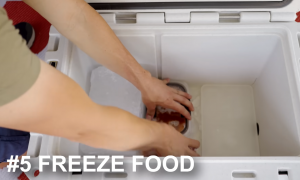 Before packing, it’s a good idea to pre-chill your cooler. You can do this by filling it with ice or ice packs the night before, and letting it sit in a cool place. This helps maintain the internal temperature longer and reduces the amount of ice you need to use.
3. Use Ice Blocks or Ice Packs
Instead of loose ice, use ice blocks or gel ice packs. Blocks of ice stay frozen longer and don’t create as much water runoff as crushed ice. If you have smaller items that need to stay cold, consider placing reusable ice packs around them. The best ice packs can keep. cooler just as cold as ice. You can even freeze water bottles to use as both ice and drinking water when they thaw.
- Ice Block Layering: Place large blocks of ice at the bottom of the cooler. These will act as a cold foundation and last the longest. If possible, freeze gallon-sized jugs of water to maximize ice retention.
4. Pack Heavy, Non-Perishable Items on the Bottom
Pack the bottom of your cooler with heavier, non-perishable items that you won’t need until later in the week. These could include:
- Canned foods (beans, chili, soups)
- Jarred sauces or condiments
- Unopened dry goods (rice, pasta, instant oatmeal)
These items are less temperature-sensitive and can withstand being packed underneath ice for several days.
5. Keep Fresh Foods Towards the Top
Fresh, perishable foods like fruits, vegetables, meats, and dairy should be packed on top of the ice or ice packs, so they stay cool but aren’t exposed to direct melting water. It’s a good idea to use airtight containers or resealable bags to prevent leaks and odors.
Fresh Items to Pack (in airtight containers or bags):
- Meats (vacuum-sealed steaks, chicken, hot dogs, sausages)
- Cheese (hard cheeses last longer, soft cheeses like cream cheese should be used earlier)
- Pre-cut veggies and fruits (carrots, celery, apples, oranges, berries)
- Salads and sandwiches (if pre-made, consume in the first few days)
6. Layering Technique
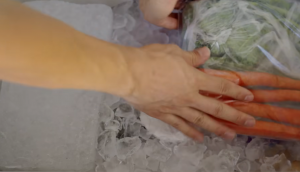 When packing the cooler, use a layering technique to help keep cold air trapped and maintain temperature longer:
- Bottom Layer: Large ice blocks or ice packs.
- Middle Layer: Meats and perishable items, tightly wrapped in plastic wrap or foil.
- Top Layer: Snacks, drinks, fruits, and items you’ll need access to regularly.
This structure will help minimize the amount of time the cooler is opened, which helps maintain its cold temperature.
7. Maximize Space Efficiently
Don’t leave unnecessary air gaps in your cooler; air reduces the cooling efficiency. Fill the cooler as much as possible, but without packing it so tight that it’s hard to open and close. If you have extra space, fill it with more ice packs or ice cubes to keep the temperature consistent.
You can also use cooler dividers or cooler bags to help organize and separate different types of food. This way, things like meats, fruits, and snacks are easily accessible without digging through everything.
8. Bring a Separate Drink Cooler
If you’re planning to bring drinks like water, soda, or juice, it can be a good idea to have a separate, smaller cooler dedicated just to drinks. This keeps your main cooler for food, and it makes grabbing drinks easier without exposing your food to unnecessary warm air when opening the cooler.
For drink coolers, it’s ideal to use ice packs or block ice to avoid excess water runoff, and keep everything organized with drink cans or bottles in a compact arrangement.
9. Replenish Ice Regularly
Depending on the weather conditions, ice can melt faster on a long camping trip. Plan on checking your cooler periodically and replenishing the ice if necessary. Dry ice can be used for longer trips, but it’s tricky to handle and requires special care.
Some campgrounds may offer ice refills for a small fee, so it’s good to check if that’s an option when you’re planning your trip.
10. Use Cooler Covers or Shade
Keep your cooler out of direct sunlight whenever possible. Use a cooler cover or set the cooler in a shaded area. The more insulation and protection your cooler gets from the sun, the longer it will maintain its cold temperature.
11. Cooler Maintenance Tips
- Open the cooler as infrequently as possible to maintain the cold temperature inside.
- Use a clean towel or cloth to wipe up any excess water or condensation to prevent it from mixing with your food.
- Store your cooler in a shaded area and try to keep it closed as much as possible to avoid the heat from raising the internal temperature.
Sample Packing List for a Week-Long Camp:
Perishable Items (stored in airtight containers):
- Meats: Chicken breasts, sausages, hot dogs, hamburgers, or bacon
- Cheese: Cheddar, mozzarella, string cheese
- Produce: Carrots, bell peppers, apples, oranges, berries, tomatoes
- Yogurt, Eggs, Milk (use early in the week)
- Condiments: Mustard, ketchup, mayo, salad dressing
Non-Perishable Items:
- Canned chili, baked beans, soups
- Instant oatmeal or grits
- Granola bars, crackers, trail mix, chips
- Spices and seasonings (salt, pepper, garlic powder, etc.)
Drinks:
- Water (pack extra bottles in your drink cooler)
- Soda, juice boxes, or sports drinks
By following these steps and organizing your cooler strategically, you’ll ensure that your food stays fresh throughout your Boy Scout camping adventure, and you’ll have easy access to everything you need for a week of outdoor fun. Happy camping!

 In addition to the physical skills required for navigation, Boy Scouts are introduced to map-reading and compass use for waterway navigation. They learn how to interpret topographic maps and waterway charts to plan routes, identify landmarks, and estimate distances. Scouts also learn how to use a compass to stay oriented on rivers, lakes, or streams, and how to adjust their course when faced with obstacles like swift currents or tight bends. Through hands-on practice in real-world environments, Scouts gain confidence in their ability to navigate different types of waterways, whether it’s paddling down a calm lake, negotiating rapids, or traversing through marshes.
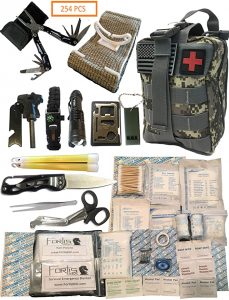 When we think about camping, there are certain things that serve a purpose and some that don’t. You should always take along your medications, a tent, sleeping bags, bug repellent, and other similar items. If you want to be prepared for anything that may come, a knife, gun, and other things can also be beneficial. In fact, many people consider them necessities. You don’t want to come upon a wild animal without having something to protect yourself with.
 We all enjoy the idea of getting back to nature. It is something that we typically look forward to all winter long. Whether we enjoy spending time in the woods or on the beach, we can benefit from a lot of the new gear that is available this year. It is a great time to get prepared for when you will be able to do the things you love the most. What type of things do you want to have within easy reach?
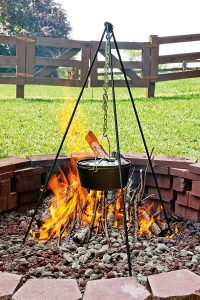 Just because you love spending time in the outdoors, does not mean you have to love all parts of nature. You can choose to embrace the tent, or you can relax in a cabin. You can enjoy swimming in the lake, or you can opt to sit around a campfire. The beauty of the outdoors is that there is always something for every person to enjoy doing most. The downside is, when you are having fun, pests are there to spoil it. What if there was a viable solution to mosquito and pest control that could be used on scouting trips? Would you enjoy it a little more?
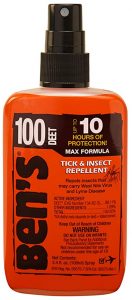 Everyone loves the idea of camping and spending the time outdoors. Yet, we often hate that we are in the great outdoors. It comes with certain annoyances. Kids are often not excited to get mosquito bites. We don’t want to apply a lot of bug repellent to help them out. Adults who love scouting trips and camps, also dread getting “bugged”. The growing concern over DEET, only makes it worse. How do you manage to get beyond the bugs and back to having a good time?
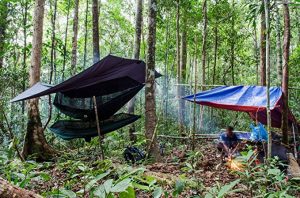 Any camping trip will experience some problem with insects and bug bites. You are in a bug’s territory when you set out for the nearest wooded camping space. You can’t change that, and you cannot eliminate all pests. Would you really want to? Solutions to pest free scouting trips are not supposed to kill all bugs. It allows troops and scouts to avoid walking into a breeding ground without protection. The point of a trip out is to have fun. Bugs should not be the thing that makes it miserable.
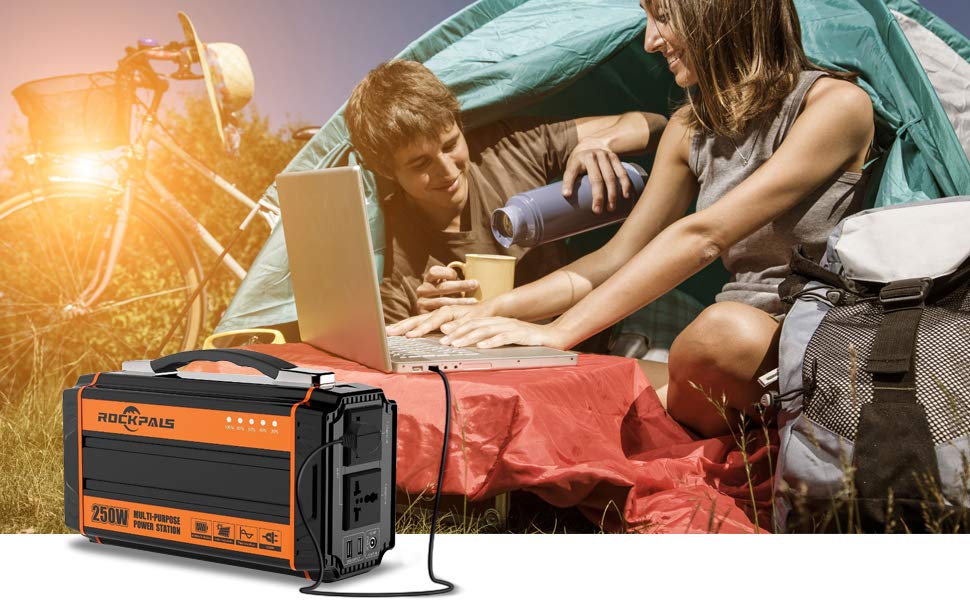
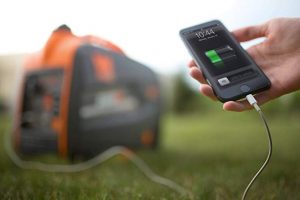 There are many families out there that still enjoy camping as a family or going on scouting trips with their troop. However, roughing it in today’s world has definitely taken on a new look since most of us insist on brining along our iPhone or our iPads. We may also take along digital cameras, portable toilets, actual toilet paper, and other things that we feel keep us separated from the local wildlife. This isn’t a bad thing. We can still enjoy being out in the great outdoors, even if we do insist on a few luxuries. It can still be a bonding experience between troop members and the family members who are able to attend. In fact, it may help us to embrace the “off the grid” life a little more fully and help us to create memories that truly last a lifetime.
 When a parent sends their young scout out on a camping trip in the woods, a smart phone allows that child to call for help if they are unhappy or lost in the woods. This opens up the doors for more exploration. A family that goes out camping together can take photos of their time together by using their electronic devices. By having some of the modern amenities along, it has also encouraged people who would normally be unhappy about camping with the family to embrace the experience of it. Let’s say a family with a child who was afraid of the dark
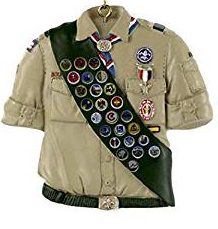 The idea behind the uniform is to serve as a reminder to all scouts of their devotion to their troop. Beyond showing their commitment, when they put on the uniform, they are equals with others in the group. It is also useful as a way to tell which troop that boy belongs to in the event they get separated from their group. All it takes is a single glance at their badges, which makes it possible for even smaller boys to get involved in troop activities. These badges also show their achievements.
 What if a troop hosts a school dance? What if they host an awards ceremony and decide to dress more formally than their uniform would allow? For the most part, boy scouts never need to dress up their uniform any more than it already is. Adding to it or taking away from it, would make them less a part of the group. However, because each boy scout is unique in their personality, it may not be wrong of them to stand out on rare occasions and special events. They can do this by simply adding a


